|
We can now add system generated and custom Business Objects
to components in our Solutions.
|
|
|
|
As you can see, once you have a system of even moderate size,
and you have included libraries with Business Objects it can get
very complex. Given that every grid requires its own Business
Object, they tend to get very numerous very quickly.
Some way to filter and / or group Business Objects would seem
to be required to make this list manageable.
|
|
|
|
Business Objects may be added to certain components. This is
managed by dragging and dropping the Business Object from the
Toolbox onto the component. These components are:
-
Forms
-
Form Segments
-
Processes
-
Sub-Processes
-
Reports
They will then become an ‘instance’ of the Business Object itself,
and certain settings may be changed, depending on the Business
Object properties. You may also add multiple instances of the
same Business Object to a component. Each will be named by
default as <Business Object name>1/2/3 etc, although they can
be renamed.
Note that Roles that are associated with a Process will have
access to all Business Object instances related to that Process.
|
|
|
|
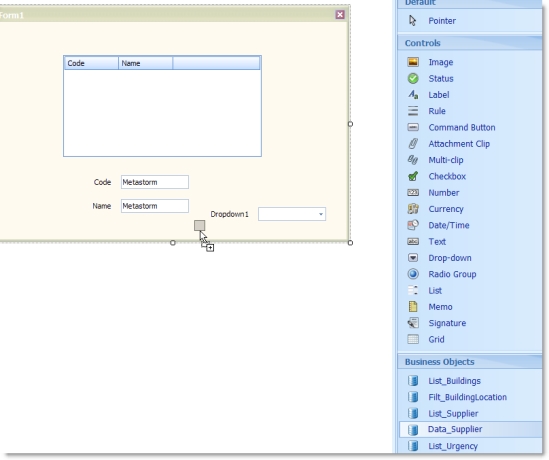
In this example we have a simple form with two dropdown fields
to filter values listed in a third. In fact, the first dropdown field
filters the second as well.
|
|
|
|
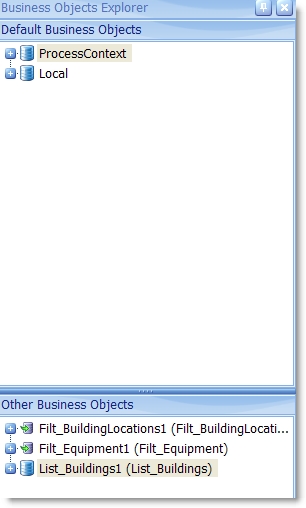
In the Business Object explorer we have the default system
Business Objects and the three dropdown option lists. We set
local variables from each dropdown selection.
Notice that we have differentiated the type using our naming
convention. The fact that the top two are prefixed with ‘Filt’ is an
indicator that they are a filtered Business Object and will need to
be set to ‘always refresh’, which has been done here (see below
how).
|
|
|
|
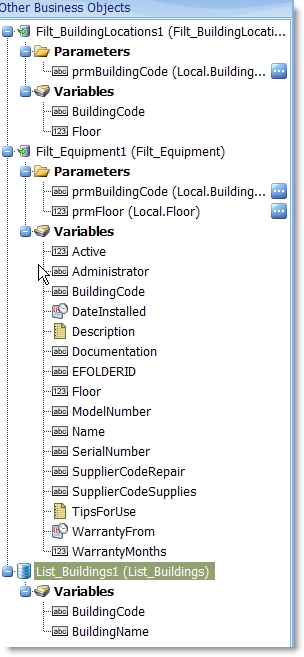
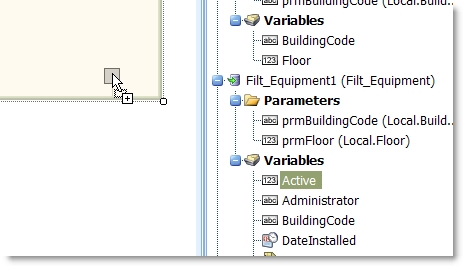
When we expand the Business Objects we have added, you can
see the parameters we have set. It should be reasonably clear
how this should work. The selection of a Building filters the Floor
list to show Floors in that building. Selecting a Floor will limit the
Equipment list to Equipment located in that Building on that
Floor.
We did try to set the variables to fields from the Business
Objects, but that will not work since the field is not then
‘editable’. The Designer will recognise when any selected variable
is not editable, and makes the field read-only. Local editable
variables are required.
|
|
|
|
You may now drag and drop variables to the component.
|
|
|
|
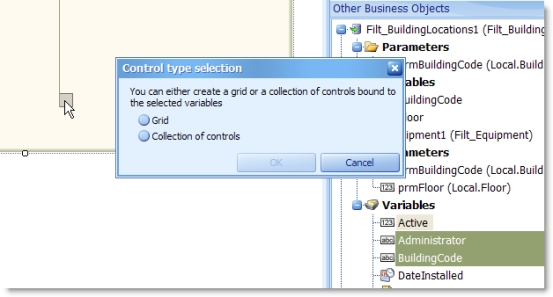
Dragging multiple fields gives you the option to create multiple
controls or a grid.
Note that some fields cannot be created like this, and must be
created manually and then the variable assigned. These are
dropdown, radio group and listbox fields.
|
|
|
|
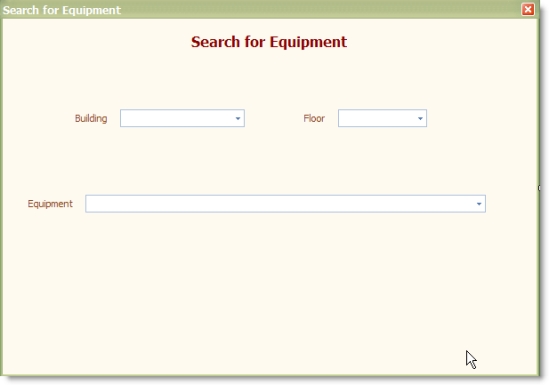
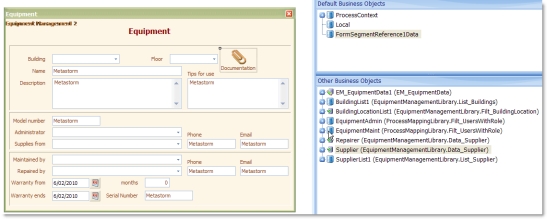
Here we show what we regard as a relatively simple form. There
are several dropdown fields and a couple of referenced fields, it is
true, but the number of Business Objects is still surprising.
Having said that, there is SQL as such used on the form itself.
|
|
|
|
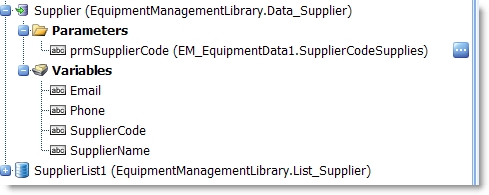
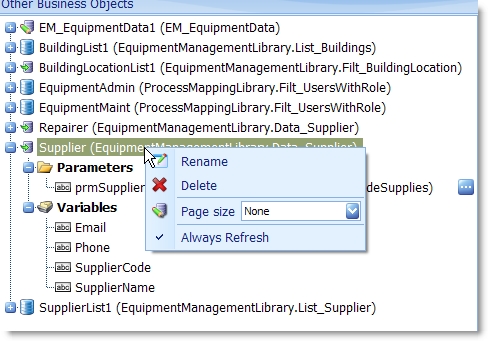
Looking at one particular Business Object instance, we can see
that we can set the parameters here.
|
|
|
|
We are also able to set the ‘always refresh’ property, and the
page size, as well as the page size. This is also settable
separately for any associated grid, as mentioned above.
We can also rename the instance to a more meaningful
description.
|
|
|
|
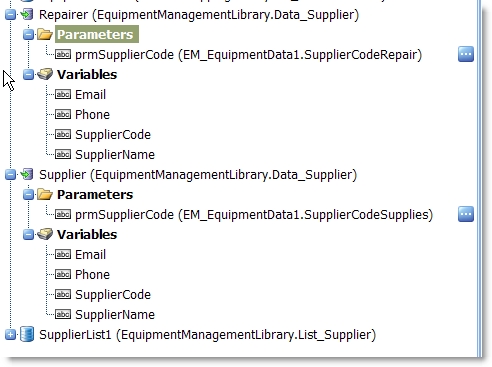
This is especially useful if you have two instances of the same
Business Object as we have here.
|
|
|
|
|
|